Step-by-step diy headlight restoration for beginners
Restoring cloudy headlights at home may seem intimidating, but with the right tools and a clear process, diy headlight restoration is one of the easiest automotive maintenance tasks for beginners. When done correctly, it can dramatically improve visibility, safety, and your car’s appearance.
This step-by-step guide walks you through the entire diy headlight restoration process, from preparation to protection, with expert tips to avoid common mistakes.
What you need before you start
Before beginning, gather the following items:
- Diy headlight restoration kit
- Masking tape
- Spray bottle with water
- Microfiber towels
- Gloves
- Drill (optional, if kit supports it)
For beginners, choose a kit that includes clear instructions and UV protection.
Best diy headlight restoration kits for long-lasting results
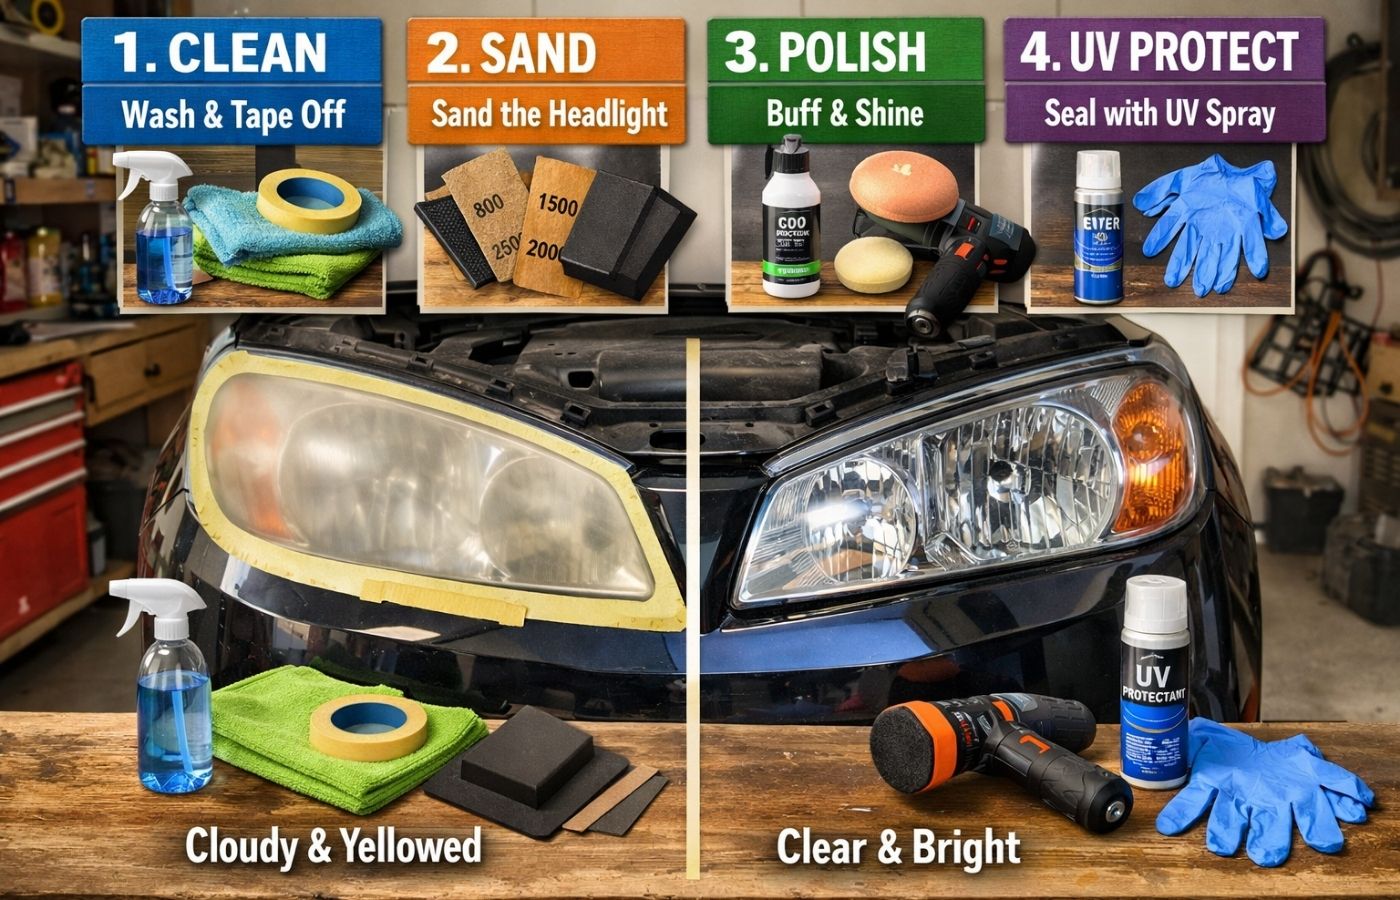
Step 1: Clean the headlights thoroughly
Start by washing the headlights with car soap and water. Remove:
- Dirt
- Bugs
- Road film
- Wax residue
Dry completely before moving on. Skipping this step can trap debris and cause scratches during sanding.
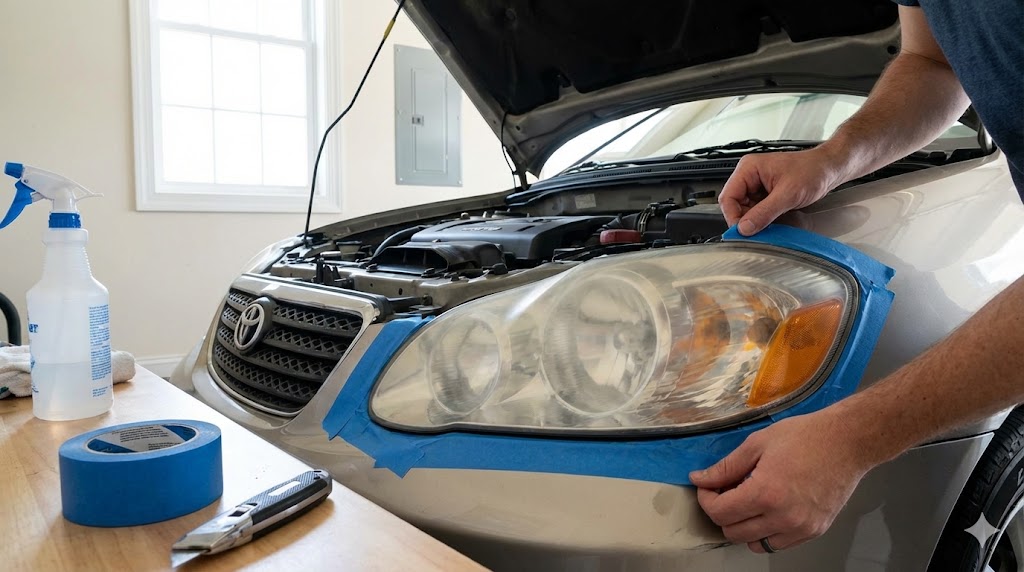
Step 2: Mask surrounding paint and trim
Use masking tape to protect:
- Paint
- Rubber trim
- Chrome accents
This step is critical for beginners and prevents accidental damage during sanding and polishing.
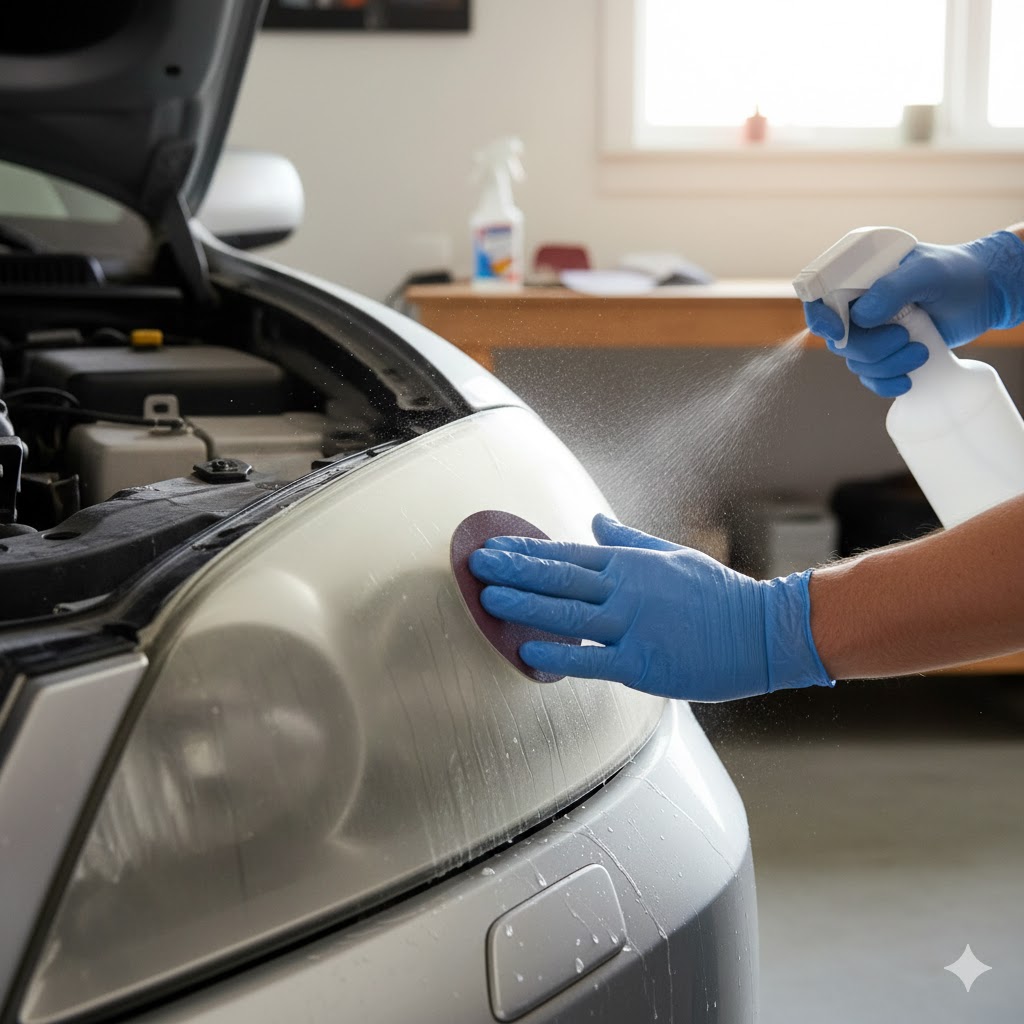
Step 3: Sand the headlight surface (most important step)
Sanding removes the oxidized, yellowed layer.
Beginner-friendly sanding tips:
- Start with the lowest grit provided (usually 800–1000)
- Keep the surface wet at all times
- Sand evenly using horizontal or vertical strokes
- Progress through finer grits as instructed
The headlight will look cloudy after sanding-this is normal.
Do not rush grit progression. Uneven sanding leads to uneven results.
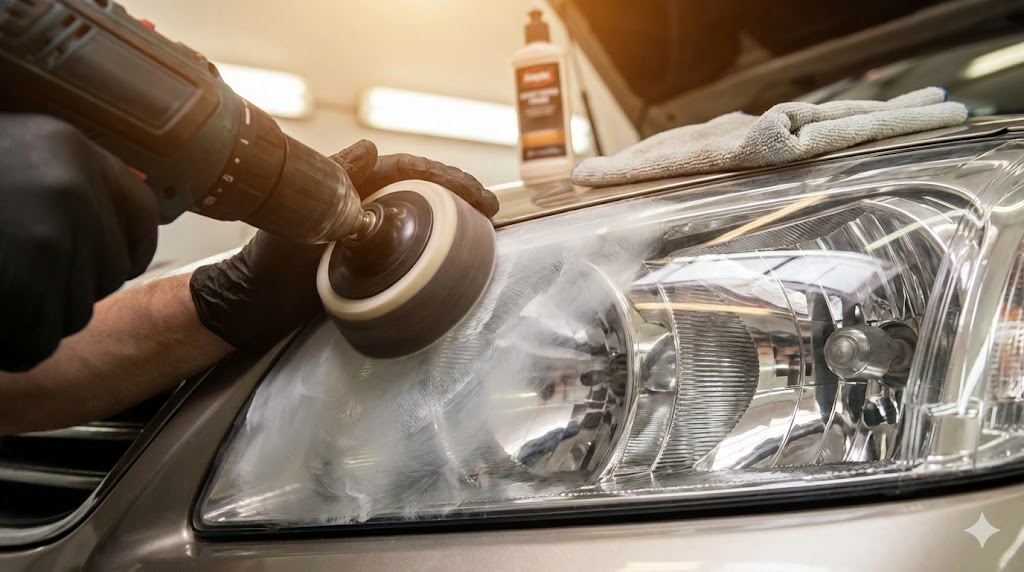
Step 4: Polish to restore clarity
After sanding, apply the polishing compound:
- Use a foam pad or drill-mounted pad
- Work in small sections
- Apply moderate pressure
- Buff until clarity returns
This step removes fine sanding marks and restores transparency.
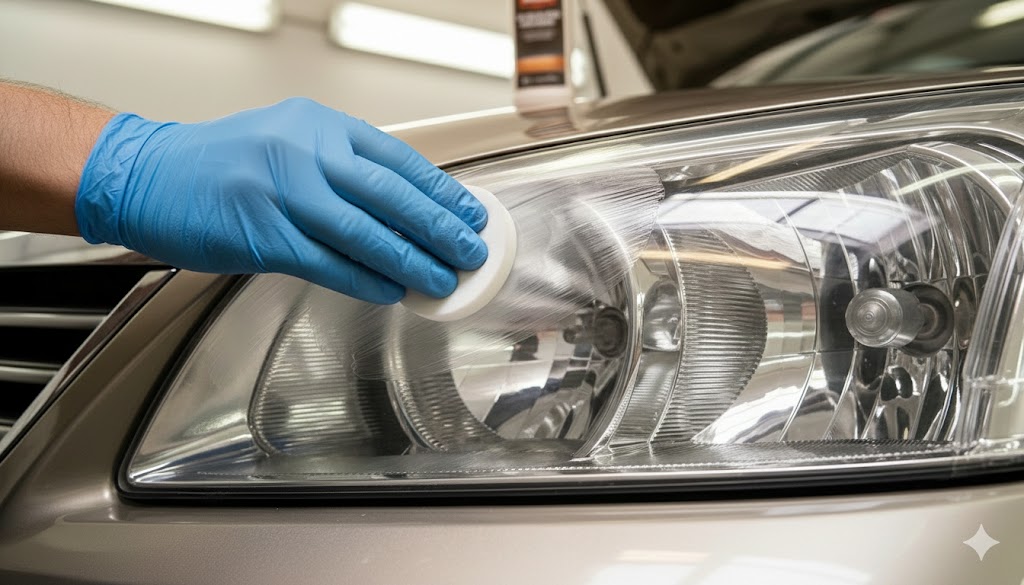
Step 5: Apply UV protection (do not skip)
Sanding removes the factory UV coating. Without replacement protection, headlights will yellow again quickly.
Common beginner-friendly UV options:
- Wipe-on UV sealants
- Ceramic coatings
- Sealant wipes included in premium kits
Allow proper curing time as instructed.
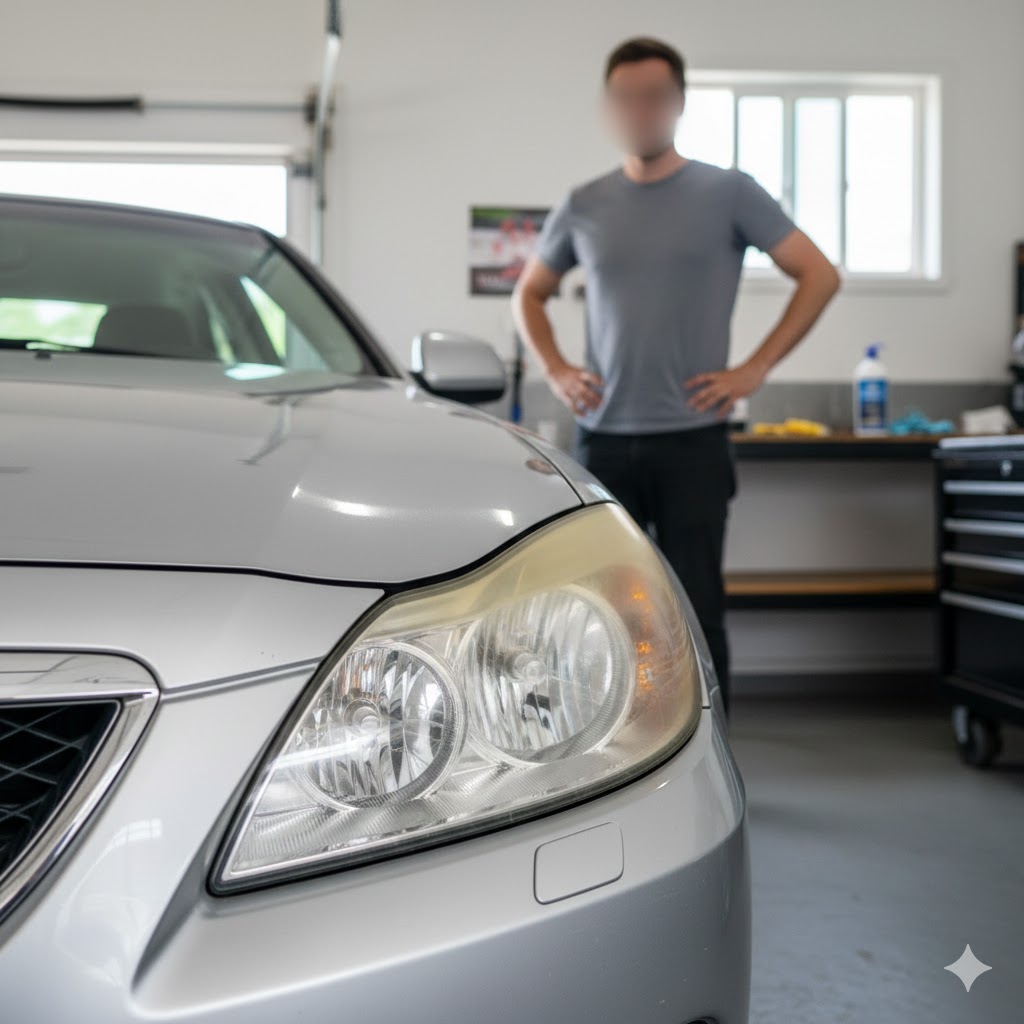
How long does diy headlight restoration last?
Step 6: Final inspection and cleanup
Remove masking tape and inspect:
- Even clarity
- No sanding marks
- Smooth finish
Wipe the headlights gently with a clean microfiber towel.
How long does the process take for beginners?
Most beginners complete diy headlight restoration in:
- 60–90 minutes total
- 15–20 minutes per headlight
Take your time-rushing is the main cause of poor results.
Beginner mistakes to avoid
- Skipping sanding steps
- Letting the surface dry during sanding
- Using too much pressure with power tools
- Skipping UV protection
- Restoring in direct sunlight or dusty areas
Common diy headlight restoration mistakes and how to avoid them
Is diy headlight restoration safe for beginners?
Yes. Modern polycarbonate headlights are designed to tolerate light sanding. As long as you:
- Follow kit instructions
- Use light, even pressure
- Avoid aggressive sanding
The process is safe and repeatable.
Is diy headlight restoration safe for modern vehicles?
Final thoughts for first-time diy users
For beginners, diy headlight restoration is:
- Affordable
- Low risk
- Highly rewarding
With patience and proper UV protection, you can achieve professional-looking results at home, even on your first attempt.