How to inspect your brakes: a step-by-step safety guide
Regular brake inspection is one of the most effective ways to prevent brake failure, reduce repair costs, and ensure safe driving. Many brake problems develop gradually, and early inspection helps identify wear before it becomes dangerous or expensive.
This guide explains how to inspect your brakes step by step, what signs to look for, and when inspection results should lead to immediate service.
For a complete understanding of how inspection fits into maintenance, it helps to review how brake inspection and pad replacement affect safety.
Why brake inspections are critical for safety
Brakes are a wear-based system. Every time the brake pedal is pressed, friction materials slowly degrade. Without regular inspection, worn components can go unnoticed until stopping distance increases or braking becomes unreliable.
Brake inspections help detect worn pads, damaged rotors, fluid leaks, and caliper issues before they compromise safety. They also reduce the risk of sudden brake failure during emergency situations.
Routine inspection is not optional maintenance. It is a core safety practice.
How often brakes should be inspecte
Most professionals recommend inspecting brakes at least once every 12,000 miles or once per year, whichever comes first. Vehicles driven in heavy traffic, mountainous areas, or harsh climates may require more frequent checks.
Brake inspections should also be performed before long trips and whenever abnormal symptoms appear. Understanding when brake pads should be replaced helps determine whether inspection findings require immediate action.
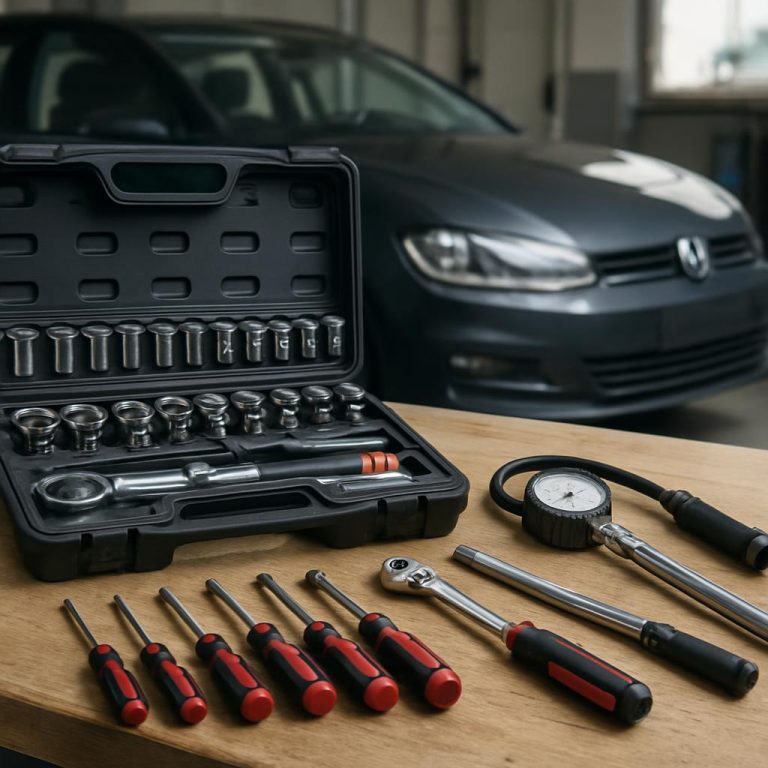
Tools needed for a basic brake inspection
A basic visual brake inspection requires minimal tools. In many cases, wheels do not need to be removed.
Common tools include:
- Flashlight or inspection light
- Tire iron or lug wrench (if removing wheels)
- Jack and jack stands (if lifting the vehicle)
- Gloves and safety glasses
For deeper inspections, professional equipment may be required.
Step 1: Listen for warning noises
Brake noise is often the first sign of a problem. Squealing, grinding, or metallic sounds during braking usually indicate worn pads or damaged components.
High-pitched squeals often come from wear indicators, while grinding sounds suggest pads are fully worn and metal is contacting the rotor. Any grinding noise requires immediate inspection.
Ignoring noise can turn a simple pad replacement into a costly rotor repair.
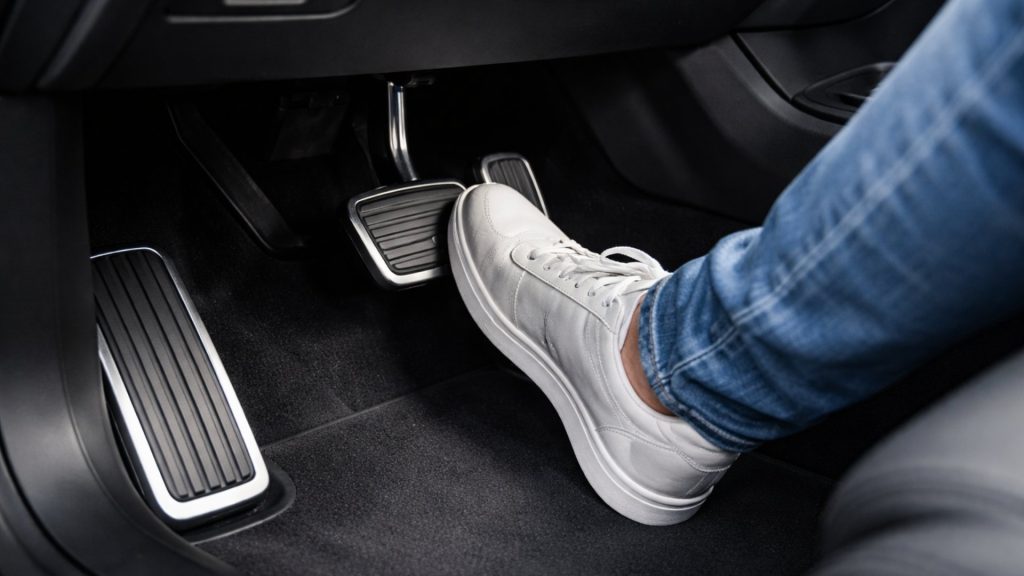
Step 2: Check brake pedal feel
A healthy braking system provides firm, consistent pedal pressure. Changes in pedal feel can signal underlying issues.
A soft or spongy pedal may indicate air in the brake lines or fluid leaks. A hard pedal may suggest caliper or booster problems. Vibrations felt through the pedal often point to warped rotors.
Pedal behavior is a key diagnostic clue during inspection.
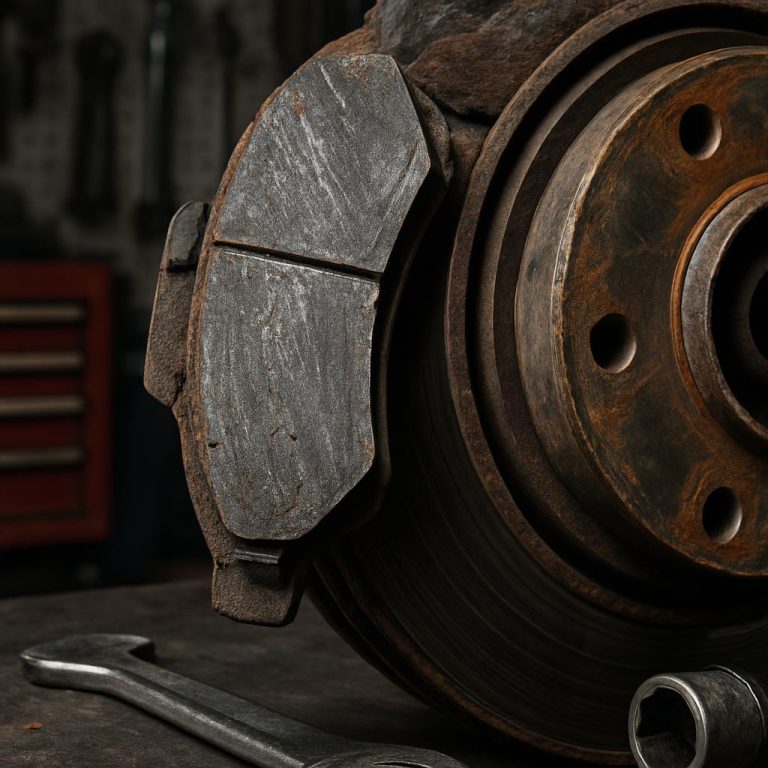
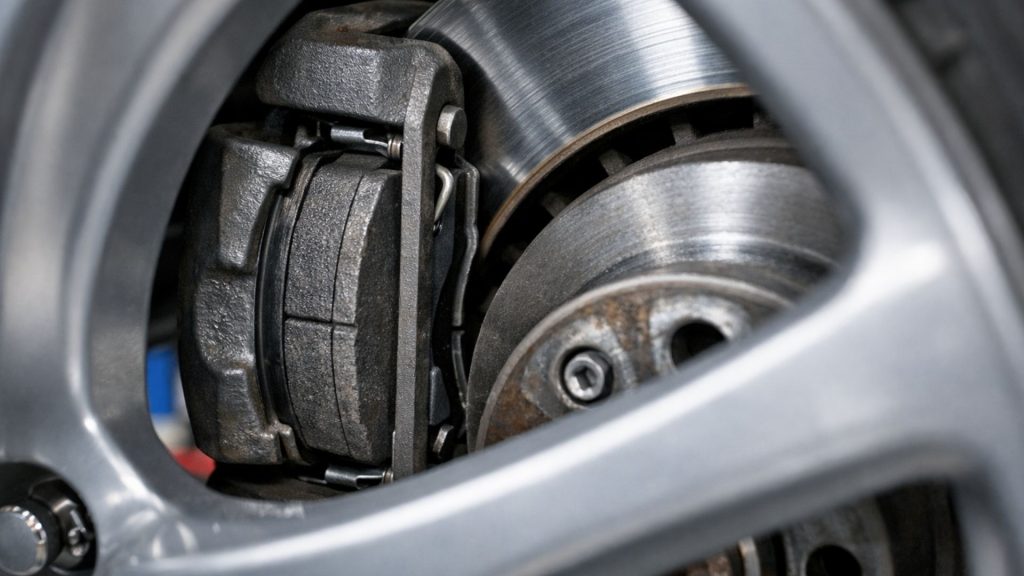
Step 3: Visually inspect brake pads
If wheel design allows, brake pads can often be inspected without removing the wheel. Look through the caliper and check pad thickness.
Most brake pads should be replaced when friction material reaches approximately 3 millimeters. Uneven wear between inner and outer pads may indicate caliper issues.
When pad thickness approaches replacement levels, review average brake pad replacement costs in the U.S. to plan service before damage occurs.
Step 4: Inspect brake rotor
Brake rotors should appear smooth and evenly worn. Visible grooves, scoring, discoloration, or excessive rust indicate wear or overheating.
Warped rotors may cause vibration during braking. Severe damage can reduce braking efficiency and increase stopping distance.
Rotor condition directly affects pad lifespan and braking performance.
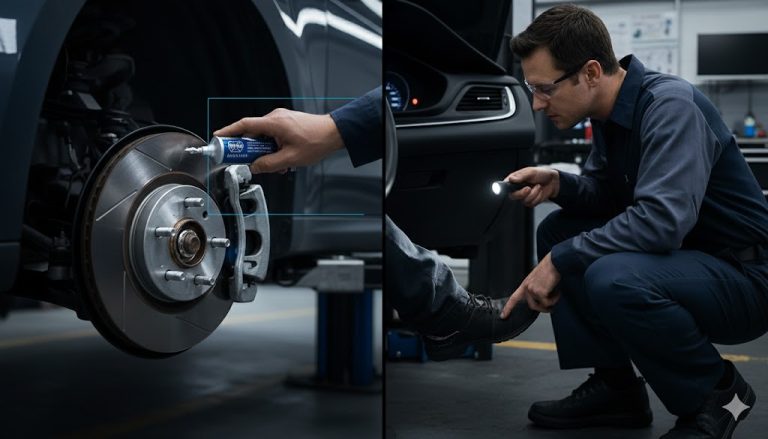
Step 5: Check brake fluid condition
Brake fluid plays a critical role in hydraulic pressure. Low fluid levels may indicate leaks or excessive pad wear.
Fluid should appear clear or light amber. Dark or contaminated fluid suggests moisture buildup and reduced performance. Brake fluid should be replaced according to manufacturer recommendations.
Fluid inspection is often overlooked but essential for safety.
Step 6: Inspect calipers and brake lines
Brake calipers should move freely and apply even pressure. Leaking calipers or seized slide pins can cause uneven wear and reduced braking force.
Brake lines should be free of cracks, corrosion, or leaks. Any damage to lines requires immediate professional repair.
These components are critical to consistent braking response.
When a brake inspection requires immediate service
Certain inspection findings should never be delayed. These include:
- Grinding noises
- Brake warning lights
- Severely worn pads
- Leaking fluid
- Strong vibration during braking
In these cases, drivers should not delay service or continue driving.
Deciding whether to inspect or repair brakes yourself depends on experience, which is explained in DIY vs professional brake service.
Common brake inspection mistakes
A common mistake is inspecting only the outer brake pad while ignoring the inner pad, which often wears faster. Another mistake is assuming noise-free brakes are problem-free.
Visual inspection alone may miss hydraulic or caliper issues. Combining visual, auditory, and pedal checks provides a more complete evaluation.
Final thoughts on brake inspection
Brake inspection is one of the simplest and most effective ways to maintain vehicle safety. Regular checks help identify wear early, reduce long-term costs, and prevent sudden failures.
Drivers who understand what to look for during inspection make better maintenance decisions and avoid unnecessary risks.
For a complete brake maintenance strategy, refer back to reliable brake pad options for everyday driving.