How to Change Engine Oil at Home
Vehicle maintenance can seem complicated when you do not know where to start, but many tasks become simple once you understand the basics. Changing your engine oil at home is one of those approachable jobs. It helps reduce maintenance costs, extend engine life, and gives you better control over the quality of the products you use. Drivers who adopt this habit gain confidence, independence, and a more hands-on connection with their vehicle.
Modern engines operate under high heat and mechanical stress. Motor oil plays a critical role by lubricating internal components, reducing friction, preventing overheating, and trapping contaminants. Over time, oil breaks down, loses viscosity, and no longer protects the engine effectively. For this reason, oil changes must be done regularly based on mileage and driving conditions. While many drivers rely on repair shops, the reality is that changing your oil yourself is simple, fast, and very cost-effective.
In this complete guide, you will learn the benefits of doing your own oil change, the tools you need, a step-by-step method, beginner-friendly tips, essential automotive equipment, and the proper way to dispose of used oil in the United States. Each section connects with related companion articles to create a clear and practical resource designed for American drivers aged thirty to fifty-five who are often busy, family-focused, and concerned about vehicle reliability.
1. Benefits of Changing Your Own Oil at Home
Drivers who learn how to change engine oil at home quickly realize that the benefits go far beyond saving money. The first advantage is financial. An oil change at a shop includes labor costs, taxes, environmental fees, and sometimes extra service charges. Doing it yourself often costs two to three times less, depending on the type of oil used. Over a full year, especially for high-mileage drivers, the savings can add up significantly.
The second benefit is control. Changing your own oil allows you to choose the brand, viscosity, and quality of the lubricant. Some shops use basic oil to reduce costs. At home, you can select a full synthetic oil that matches your climate or driving style and pair it with a higher-quality oil filter. Having full control over what goes into your engine provides real peace of mind.
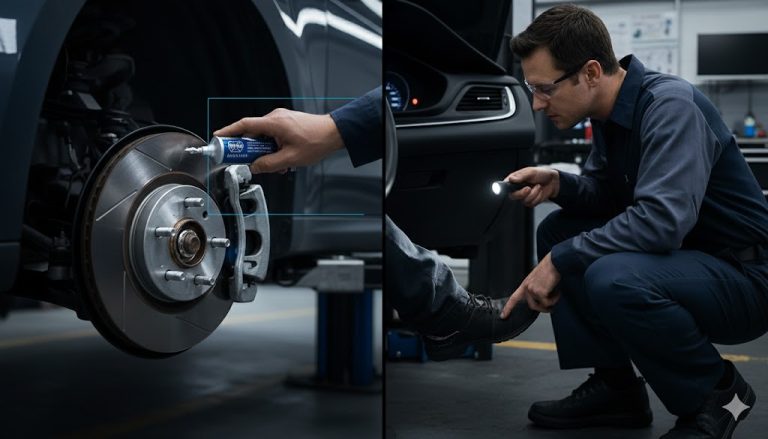
The third reason is preventive maintenance. During an oil change, you can observe the color, texture, and smell of the used oil. These details offer valuable clues about the engine’s condition. Oil that smells burned may indicate overheating, while metallic particles can point to abnormal wear. In a shop, these warning signs are often missed or not communicated. When you inspect the oil yourself, you can catch issues early before they become serious.
The fourth benefit is confidence. Many drivers feel intimidated by working on their own vehicles, usually due to lack of experience. After a few oil changes, the process becomes routine. You begin to understand that engines are not as fragile as they seem. This confidence often leads to handling other basic maintenance tasks. This mindset is also explored in the companion article Benefits of Changing Your Own Oil at Home, which shows how this habit strengthens the driver-vehicle relationship.
Finally, there is personal satisfaction. Maintaining your own car creates a strong sense of control and accomplishment. You drive with more confidence when you know exactly what has been done to your vehicle.
2. Essential Tools for an At-Home Oil Change
To successfully change your oil at home, you only need a few basic tools, all of which are easy to find at auto parts stores or online. The list is short, but each item plays an important role. The first essential tool is an oil drain pan, designed to collect used oil safely without spills. It should be stable and wide enough to prevent splashing during drainage.
The second key tool is a wrench for the drain plug. Each vehicle uses a specific bolt size, so it is important to confirm the correct size before starting. Using the wrong wrench can strip the bolt or cause leaks after reinstallation. The third tool is an oil filter wrench, which helps loosen a stuck filter. While some filters can be removed by hand, that is not always the case.
A clean funnel is necessary to refill the engine without spilling oil onto hot components. A pair of durable gloves improves comfort and limits direct contact with used oil. A work light helps illuminate the area under the vehicle, and absorbent rags or shop towels are useful for cleaning around the drain plug and oil filter.
Together, these basic tools form a simple and affordable kit. They are explained in greater detail in the companion page Essential Tools for Oil Change at Home, which shows how to get properly equipped without overspending.
3. How to Do an Oil Change Step by Step
The process for how to change engine oil at home follows a clear and logical sequence. The first step is to warm up the engine for a few minutes. Warm oil flows more easily and carries more contaminants out of the engine. Once warmed, turn the engine off. Park the vehicle on a flat surface and engage the parking brake. If needed, use a jack and sturdy jack stands to lift the front of the vehicle, but only if you are familiar with proper safety procedures.
The second step is draining the oil. Place the drain pan under the oil pan, then remove the drain plug using the correct wrench. The oil will begin to flow freely. Allow it to drain until the stream slows to a drip, ensuring that most of the used oil has exited the engine. While the oil drains, you can prepare the new oil filter.
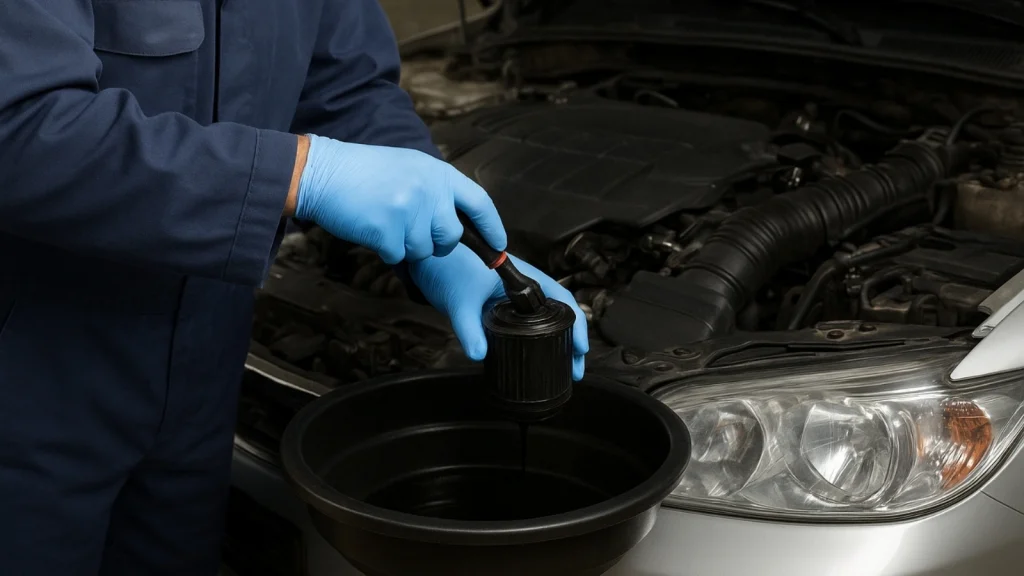
The third step is replacing the oil filter. Remove the old filter by hand or with an oil filter wrench. Some oil may still drain out. Lightly coat the rubber gasket of the new filter with fresh oil before installation. This prevents the gasket from sticking over time. Thread the new filter on by hand until snug, without overtightening.
The fourth step is refilling the engine. Reinstall and properly tighten the drain plug. Using a clean funnel, slowly pour in the new oil. Refer to the vehicle owner’s manual for the exact oil capacity. Once filled, replace the oil cap and start the engine for a few seconds to circulate the new oil.
The fifth step is the final check. After letting the engine sit for a few minutes, turn it off and check the dipstick to confirm the oil level is correct. Perform a quick inspection underneath the vehicle to ensure there are no leaks. This detailed process aligns with the guidance provided in the companion page How to Do an Oil Change Step by Step, which serves as a practical reference for beginner drivers.
4. Easy Automotive Maintenance Guide for Beginners
For new drivers, learning how to change engine oil at home is often the first step into car maintenance. However, several other simple tasks help keep a vehicle in good condition. Checking tire pressure once a month improves handling and fuel efficiency. Inspecting belts under the hood helps spot cracks or signs of wear. Testing headlights and taillights ensures safer driving, especially at night.
Regular maintenance helps prevent expensive repairs. Beginners should follow a simple routine. For example, check the oil level monthly, inspect the battery every two months, and monitor air filters each season. These small tasks take very little time but can significantly extend a vehicle’s lifespan. All of these basics are covered in the companion page, Easy Automotive Maintenance Guide for Beginners, designed to support drivers who are just starting to work on their cars..
5. Essential Automotive Tools Every Car Owner Should Have
Au-delà des outils nécessaires à une vidange, certains équipements devraient être présents dans chaque voiture. Le premier est un manomètre précis pour vérifier la pression des pneus. Une pression correcte améliore la sécurité et réduit l’usure prématurée. Le deuxième est une paire de câbles de démarrage, indispensable en hiver ou lors d’une batterie faible. Une lampe d’inspection LED permet de travailler dans les zones sombres du moteur.
Une trousse de fusibles de rechange et quelques ampoules sont également utiles. Pour les opérations au garage, un cric robuste et deux chandelles solides assurent la sécurité lors du levage du véhicule. Un jeu de clés mixtes, un tournevis multi-embouts et une paire de gants résistants complètent la base idéale. L’organisation de ces outils dans une caisse dédiée permet de gagner du temps pendant les interventions. Ces recommandations reprennent les points développés dans la page satellite Essential Automotive Tools Every Car Owner Should Have.
6. Safe Disposal of Used Motor Oil in the United States
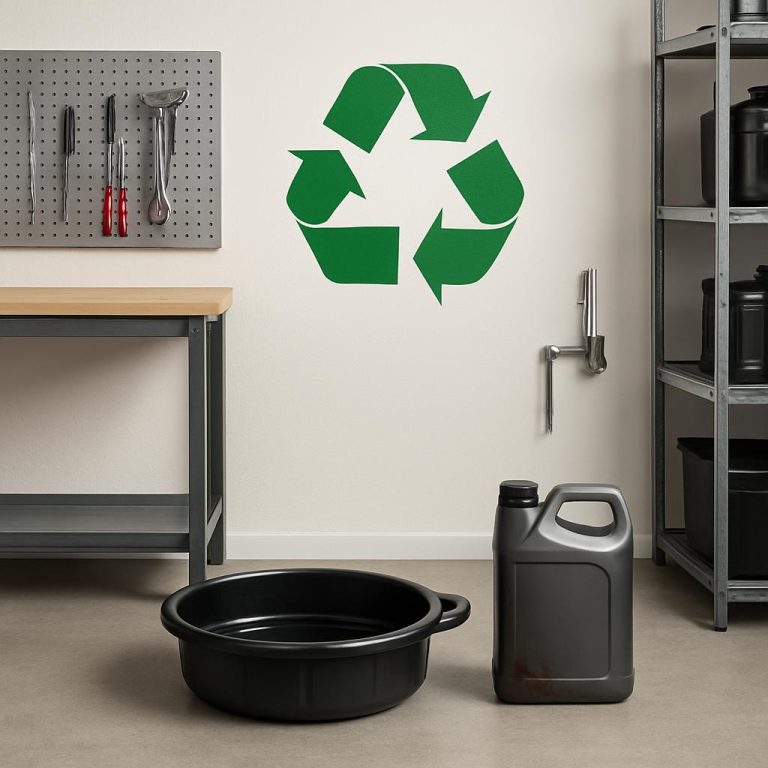
Changing your own oil also means handling used motor oil the right way. In the United States, regulations require drivers to dispose of motor oil responsibly. Used oil must be collected in a sealed container and taken to an approved recycling location. Auto parts stores, some repair shops, and municipal recycling centers accept used oil at no cost. Pouring oil down drains or onto the ground is strictly prohibited, as even a small amount can contaminate large volumes of water.
It is also important not to mix used oil with other fluids such as antifreeze or brake fluid. Mixing liquids makes recycling more difficult and may cause a recycling center to reject the oil. Once collected, used motor oil is filtered and reused to produce industrial fuel or re-refined motor oils. The key points covered in the dedicated Safe Disposal of Used Motor Oil in the United States guide highlight how this step completes a responsible at-home maintenance routine.
Conclusion
Learning how to change engine oil at home gives American drivers real independence. This simple task helps lower maintenance costs, extend engine life, and improve overall understanding of the vehicle. With the right tools, a clear process, and basic safety precautions, anyone can perform an oil change with confidence. Drivers who want to build stronger maintenance skills can rely on the companion resources, including the Easy Automotive Maintenance Guide for Beginners, to develop a solid year-round care routine.