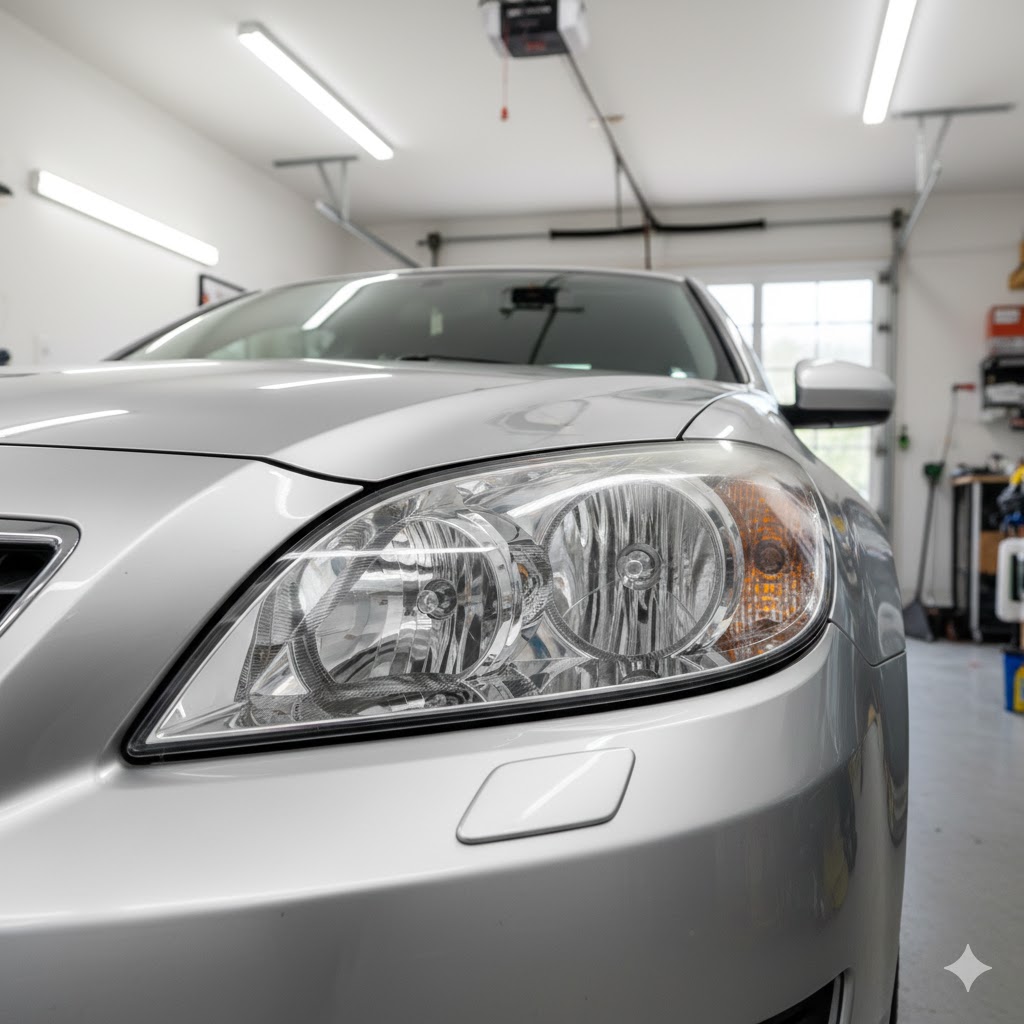
Common diy headlight restoration mistakes and how to avoid them
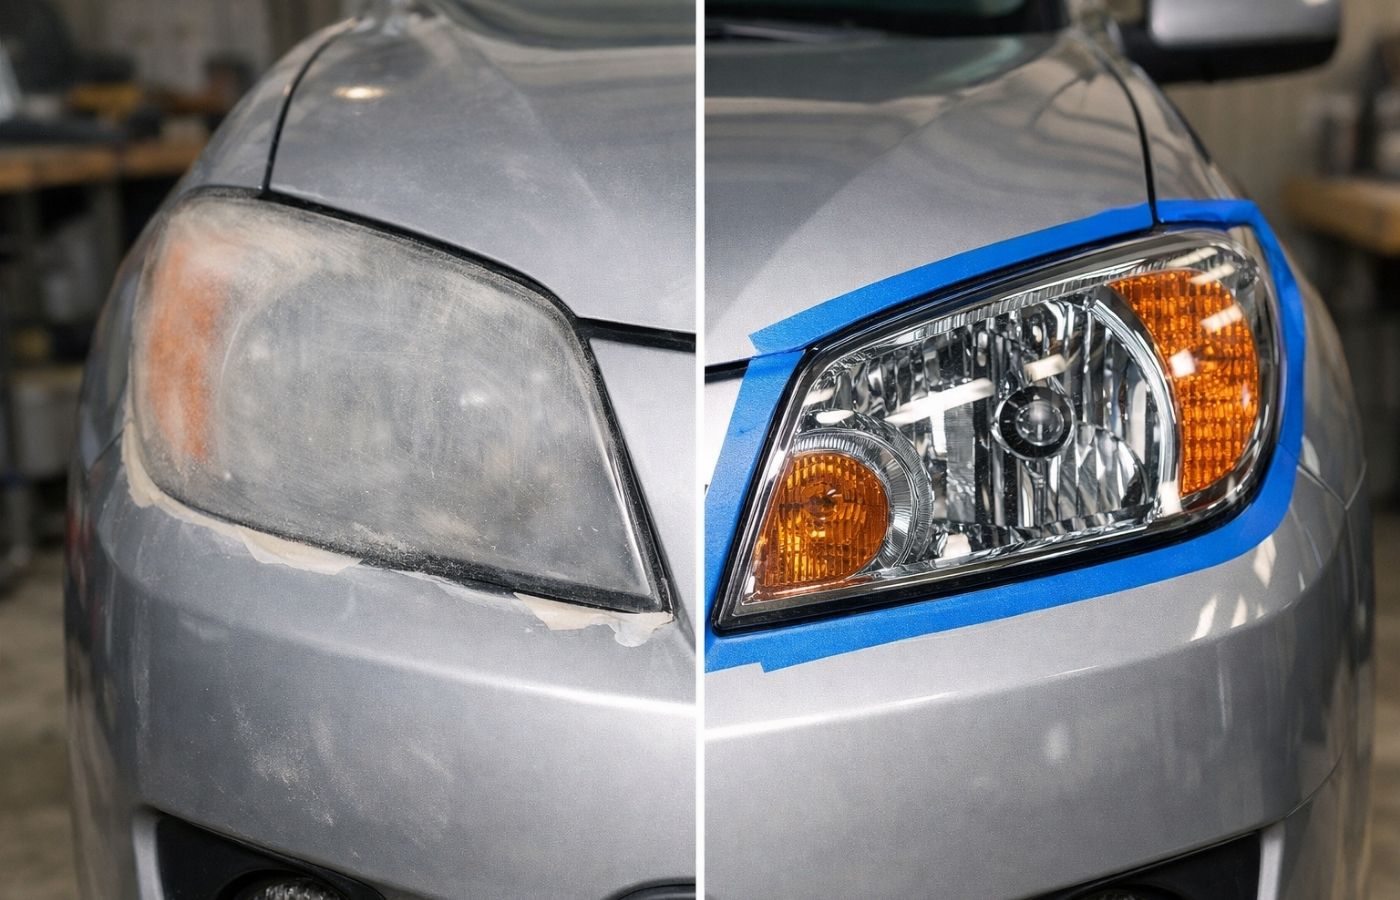
Diy headlight restoration can deliver impressive results-but only when done correctly. Most disappointing outcomes are not caused by bad products, but by avoidable mistakes during preparation, sanding, or protection.
In this guide, we break down the most common diy headlight restoration mistakes and explain exactly how to avoid them for longer‑lasting, professional‑looking results.
Mistake 1: Skipping proper cleaning before sanding
Failing to thoroughly clean headlights allows dirt and road grime to get trapped under sandpaper, causing scratches and uneven results.
How to avoid it
- Wash headlights with car soap and water
- Remove bugs, tar, and wax residue
- Dry completely before sanding
This step takes 5 minutes but prevents permanent damage.
Mistake 2: Using the wrong sanding techniqu

Uneven sanding is the #1 reason for streaks, haze, and patchy clarity.
Common errors include:
- Sanding dry instead of wet
- Using inconsistent pressure
- Skipping grit levels
How to avoid it
- Always keep the surface wet
- Sand evenly in one direction per grit
- Follow the full grit progression
Step-by-step diy headlight restoration for beginners
Mistake 3: Over‑sanding the headlight len
More sanding does not mean better results. Over‑sanding can:
- Thin the polycarbonate lens
- Distort edges and corners
- Create permanent optical damage
How to avoid it
- Use the least aggressive grit needed
- Stop sanding once oxidation is removed
- Let polishing do the clarity work
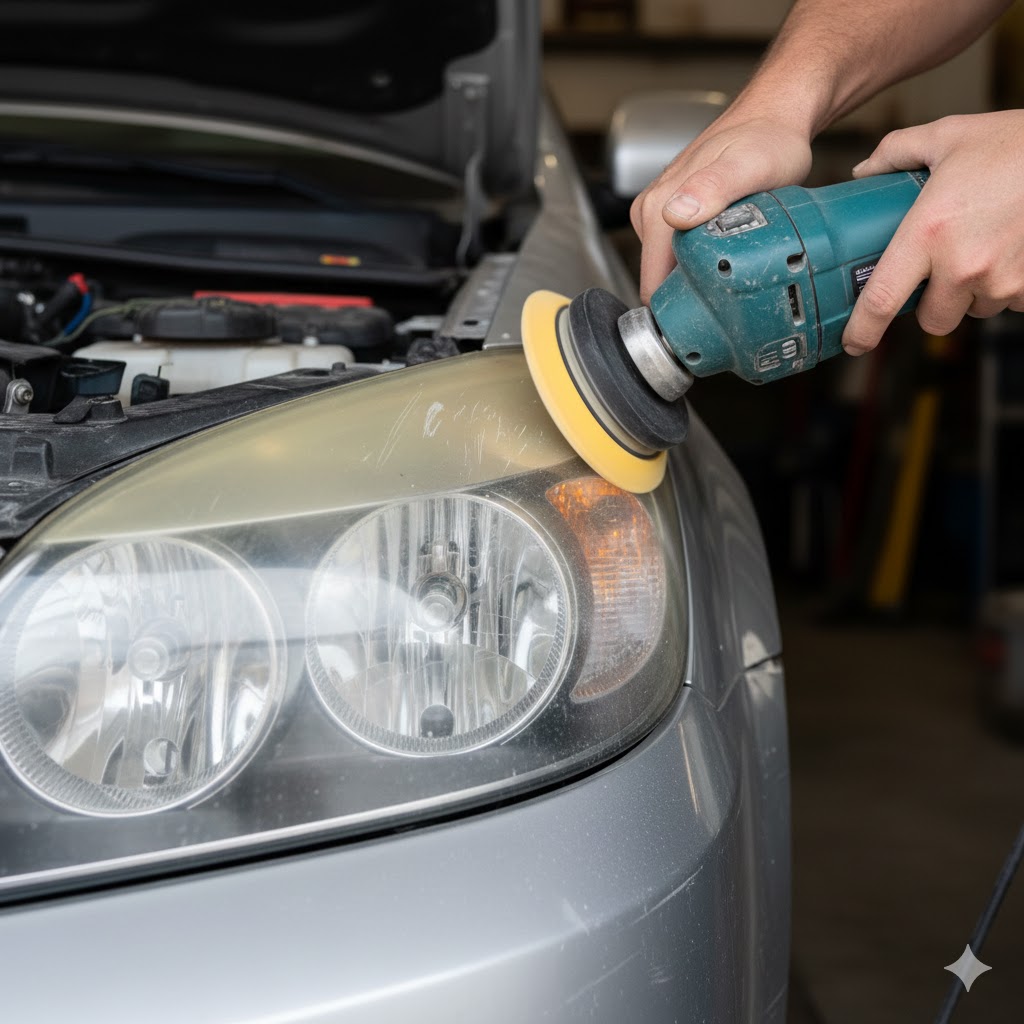
Mistake 4: Rushing the polishing stage
Polishing removes fine sanding marks and restores transparency. Rushing this step leads to:
- Dull or cloudy finish
- Visible sanding haze
How to avoid it
- Work in small sections
- Use moderate pressure
- Polish until full clarity returns
Patience here makes the biggest visual difference.
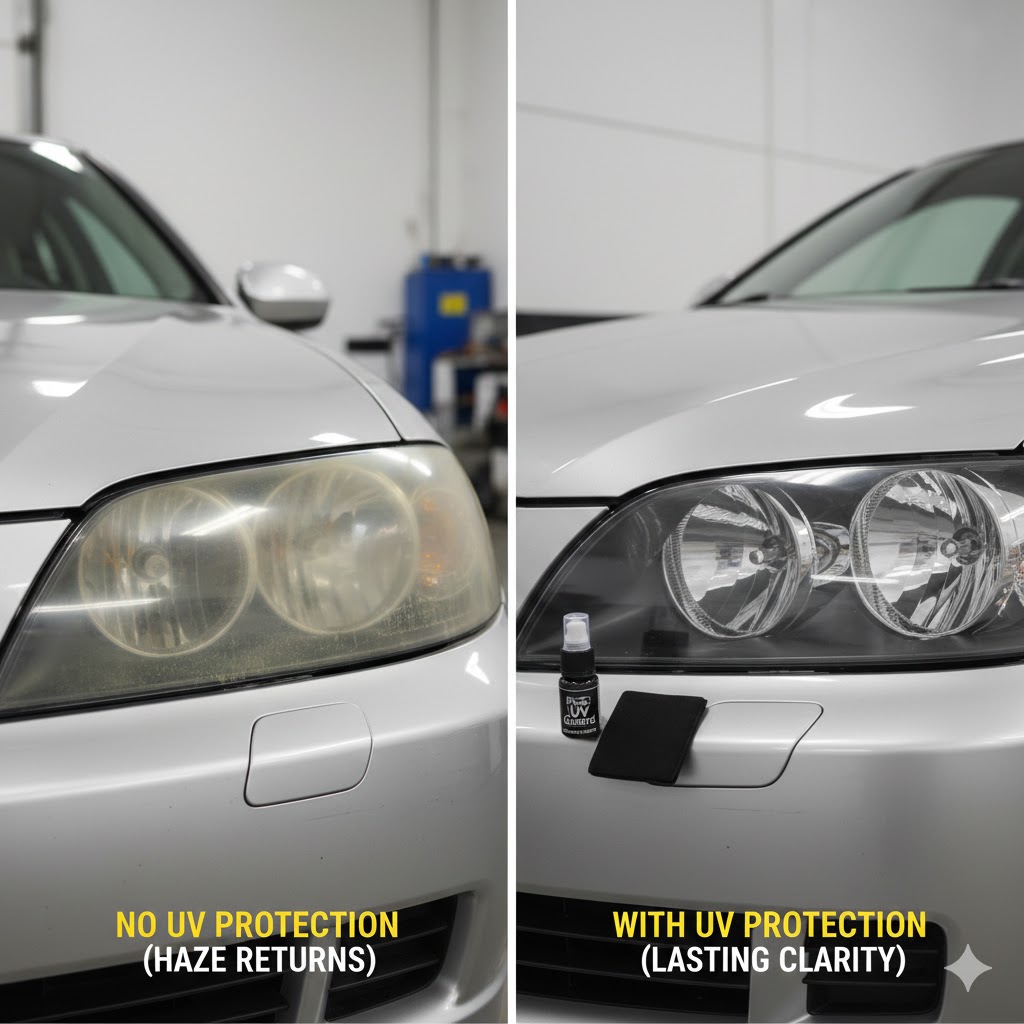
Mistake 5: Skipping UV protection (most expensive mistake)
Sanding removes the factory UV coating. Without replacing it, headlights will re‑yellow quickly-sometimes within weeks.
How to avoid it
- Always apply a UV sealant or coating
- Follow curing instructions precisely
- Avoid moisture and sunlight during curing
How long does diy headlight restoration last?
Mistake 6: Restoring headlights in poor condition
Environmental factors can ruin results:
- Direct sunlight
- High humidity
- Dusty or windy areas
How to avoid it
- Work in a shaded, enclosed area
- Avoid extreme heat or cold
- Allow coatings to cure undisturbed
Mistake 7: Expecting permanent results from diy kits
Diy restoration is not permanent by design. Unrealistic expectations lead to disappointment.
Reality check
- Diy results last 6–24 months
- Maintenance is required
- Re‑sealing matters more than re‑sanding
Diy vs professional headlight restoration
Mistake 8: Choosing the cheapest kit available
Low‑quality kits often lack:
- Proper grit progression
- Effective polish
- Real UV protection
How to avoid it
- Choose kits with proven UV sealants
- Look for multi‑step systems
- Invest slightly more for durability
Best diy headlight restoration kits for long-lasting results