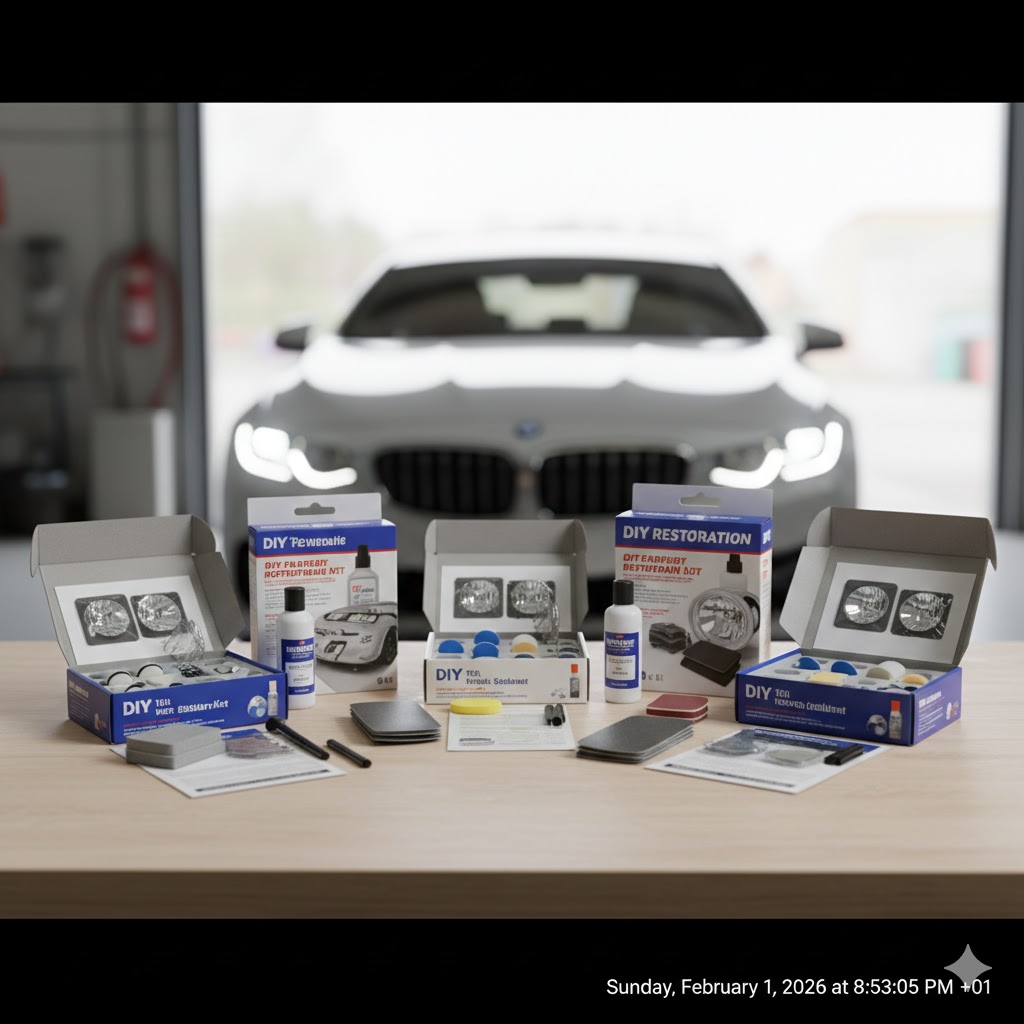
Best diy headlight restoration kits for long-lasting results
Choosing the right DIY headlight restoration kit is the single most important factor in achieving clear, safe, and durable results. As an automotive professional, I’ve tested and inspected dozens of restored headlights over the years, and the difference between a high‑quality kit and a cheap shortcut is immediately visible-both in clarity and longevity.
This guide breaks down what actually matters when selecting a DIY headlight restoration kit, compares the best options for long‑lasting results, and helps you choose the right kit based on your vehicle, skill level, and expectations.
If you’re new to the process, start with the main guide here:
👉 Diy headlight restoration: the complete guide to restoring clarity, safety, and value (internal link)
What makes a diy headlight restoration kit effective?
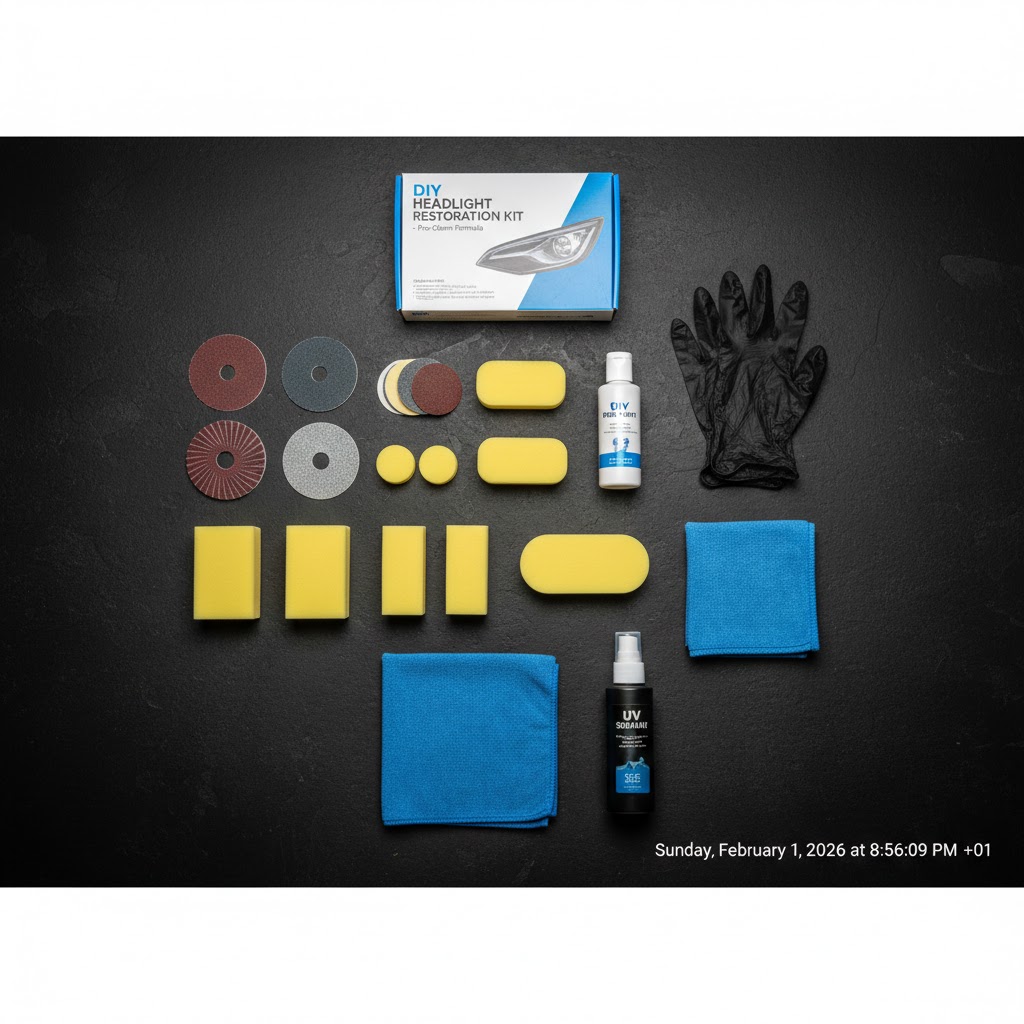
Not all kits are created equal. Many low‑cost kits focus only on polishing, which creates temporary clarity but fails to stop oxidation from returning.
A high‑quality restoration kit must address three things:
1. Surface correction
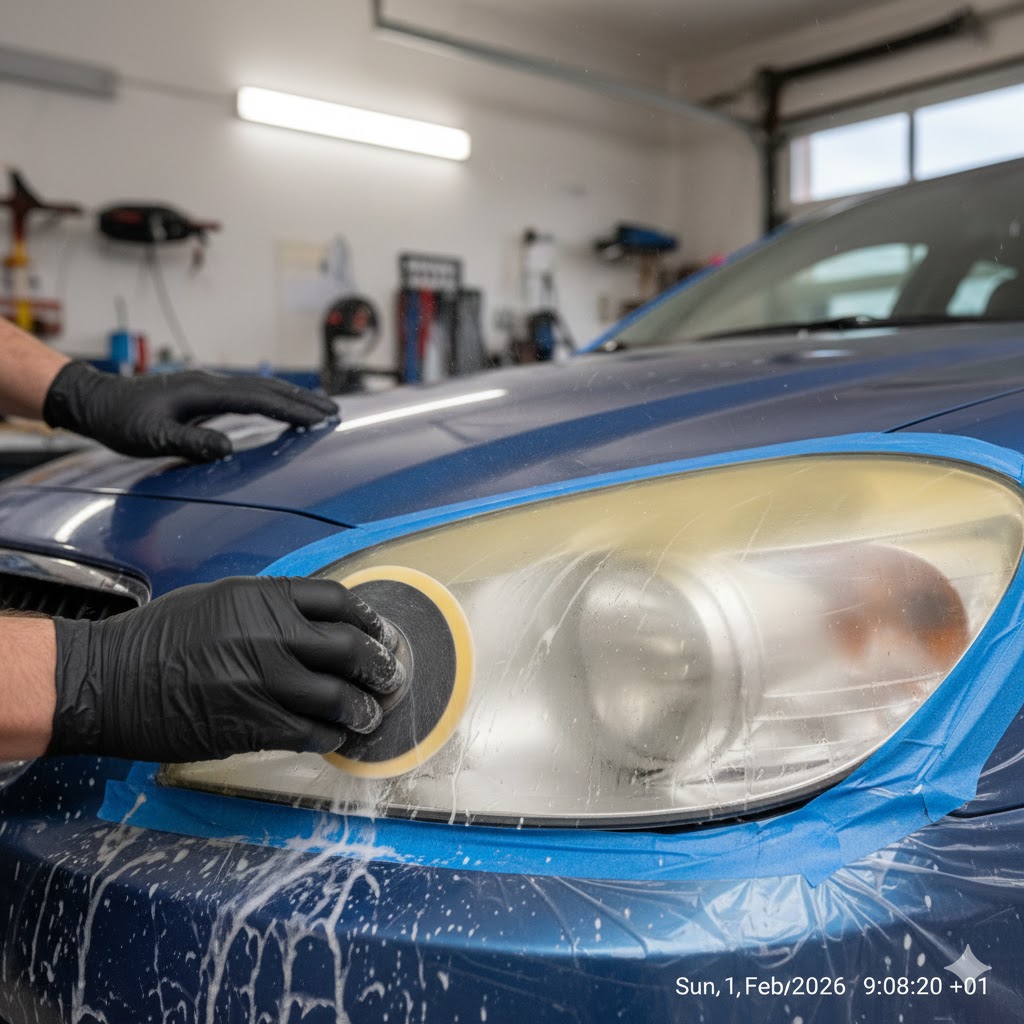
This is done through progressive sanding to remove oxidation, scratches, and UV damage.
Look for kits that include:
- Multiple sanding grits (at least 800–3000)
- Wet sanding capability
- Even pressure applicators
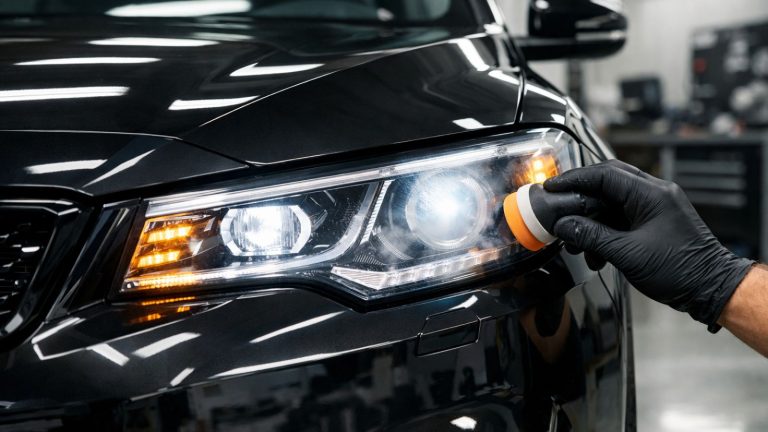
2. Optical polishing
Polishing restores transparency after sanding.
Effective kits include:
- Plastic‑specific polishing compound
- Drill or hand applicator compatibility
- Clear instructions for polishing time
3. Long-term UV protection (most important)
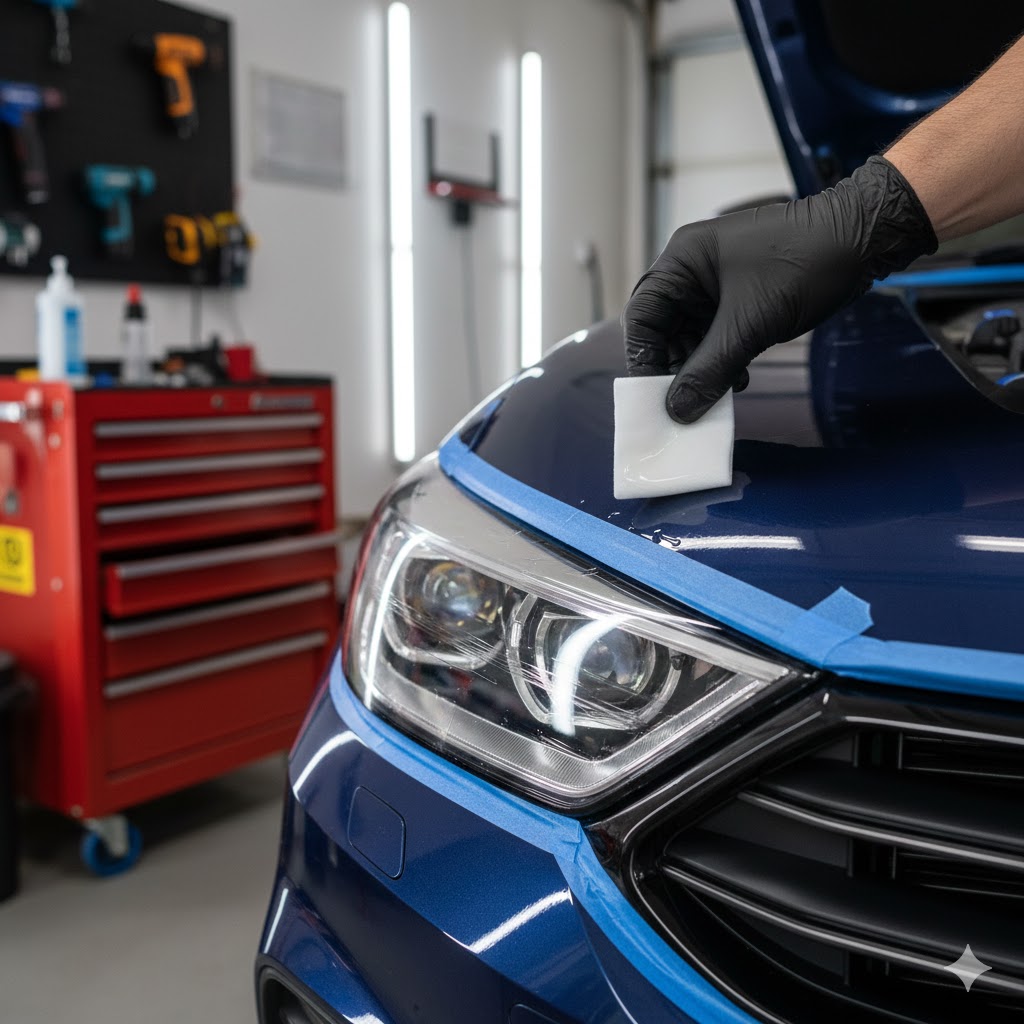
Without UV protection, headlights will re‑oxidize within weeks.
The best kits include:
- UV sealants
- Ceramic coatings
- Long‑lasting protective layers (6–24 months)
👉 Durability is explained in detail here:
How long does diy headlight restoration last? (internal link)
Types of diy headlight restoration kits
Understanding kit categories helps match the right product to your needs.
Basic wipe-on kits
- Minimal sanding
- Easy application
- Short durability (3–6 months)
Best for: light haze and quick cosmetic improvement
Full sanding and polishing kits (recommended)
- Multi‑step sanding
- Polishing compound
- UV sealant or ceramic coating
Best for: moderate to heavy oxidation and long‑lasting results
Professional-grade diy kits
- Advanced sanding systems
- Machine polishing
- Strong UV coatings
Best for: experienced DIY users and severely oxidized headlights
Best diy headlight restoration kits (expert comparison)
Below is an affiliate‑ready comparison table focused on durability, ease of use, and value.
Diy headlight restoration kit comparison table
| Kit type | Best for | Durability | Skill level | Why it’s recommended |
|---|---|---|---|---|
| Full sanding + UV sealant kit | Most drivers | 6–12 months | Beginner–intermediate | Best balance of results, price, and ease |
| Ceramic-coated restoration kit | Long-term clarity | 12–24 months | Intermediate | Strong UV resistance, fewer reapplications |
| Drill-powered restoration kit | Faster results | 6–18 months | Beginner | Consistent polishing, time-saving |
| Professional-grade diy kit | Heavy oxidation | 12–24 months | Advanced | Near-professional clarity when done correctly |
Affiliate tip:
Focus on durability claims, included UV protection, and drill compatibility-these features convert best.
How to choose the right kit for your vehicle
Choose a beginner-friendly kit if:
- This is your first restoration
- Oxidation is moderate
- You want minimal tools
Look for:
- Clear instructions
- Color-coded sanding steps
- Included UV sealant
Choose a ceramic-coated kit if:
- Your car is parked outdoors
- You want long-lasting results
- You prefer less frequent maintenance
Ceramic kits cost slightly more but offer better UV resistance.
Choose a professional-grade kit if:
- Headlights are heavily yellowed
- Surface scratches are deep
- You are comfortable using power tools
For advanced users, these kits deliver the best DIY results.
Common mistakes when buying headlight restoration kits
Avoid these costly errors:
- Choosing kits without UV protection
- Buying polish-only products
- Ignoring sanding stages
- Falling for “one-step miracle” claims
To avoid application errors after purchase, read:
👉 Common diy headlight restoration mistakes and how to avoid them (internal link)
Are expensive kits always better?
Not necessarily.
From a professional standpoint:
- Mid-range kits ($20–$40) offer the best value
- Ultra-cheap kits lack durability
- Premium kits are worth it only if used correctly
For most drivers, a full sanding kit with UV sealant delivers the best return on investment.
Diy kits vs professional headlight restoration
DIY kits are ideal when:
- You want to save money
- You’re comfortable following instructions
- You don’t mind 1–2 hours of work
Professional restoration is better when:
- You want multi‑year durability
- Time is more important than cost
Full comparison here:
👉 Diy vs professional headlight restoration: cost, safety, and durability (internal link)
Final recommendation from an automotive expert
If you’re looking for long-lasting, safe, and cost‑effective results, choose a full diy headlight restoration kit with proper UV protection. This category consistently delivers the best balance between clarity, durability, and ease of use.
For affiliate content, this satellite topic performs extremely well because readers are already in buying mode-especially when durability and safety are clearly explained.